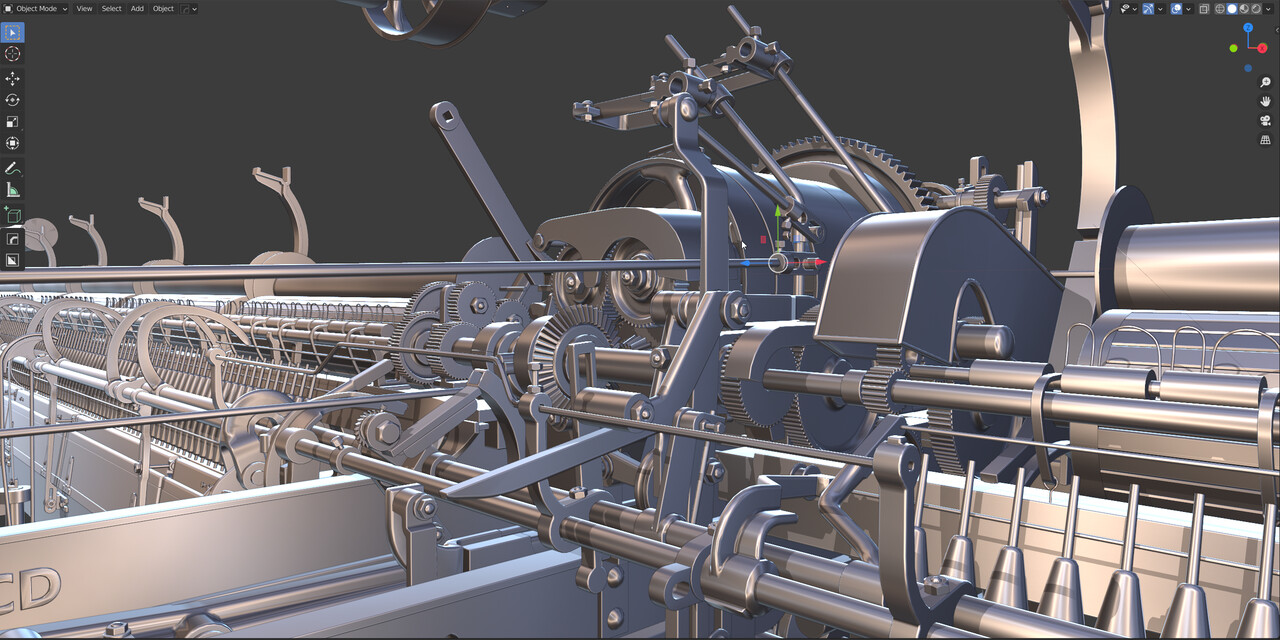
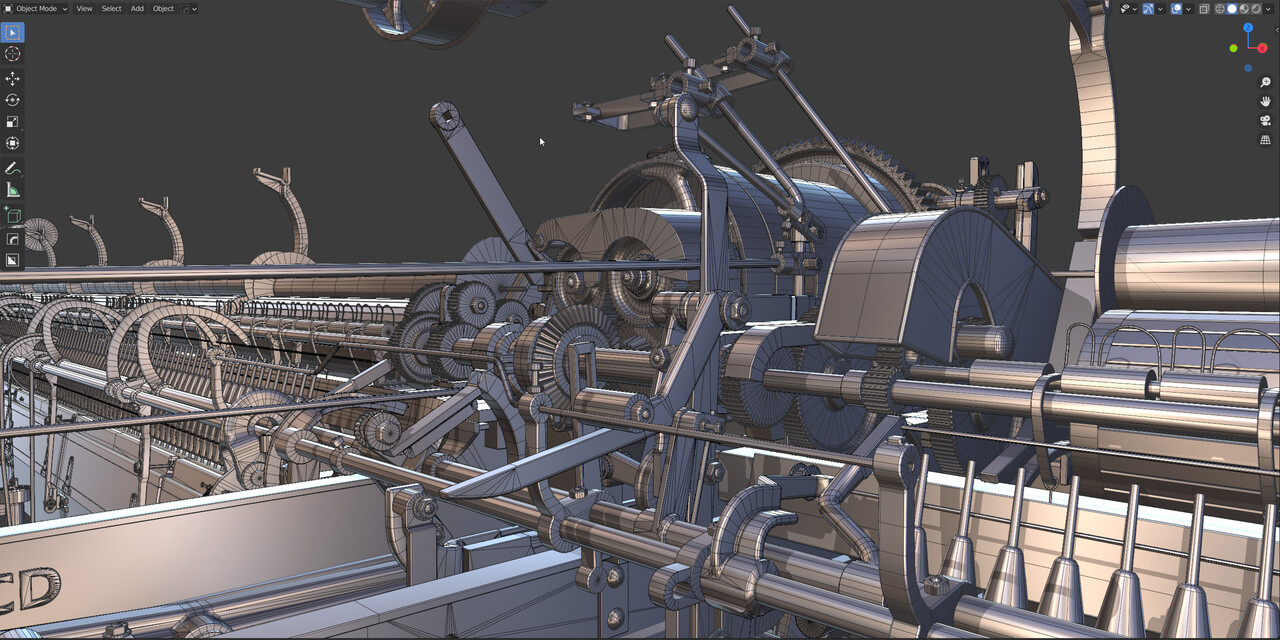
I want to share some useful techniques and tricks for the mid-poly workflow. First things first, what is it, why did I use it for my spinning mule and why should you care?
The Fundamentals
A mid-poly workflow is a popular approach for hard surface modeling in the video game industry. Huge AAA games like Star Citizen, Alien Isolation use it extensively in combination with other techniques like decals and trim sheets. I used this approach also in other projects I worked on, Black Mirror (2017), Letzte Worte, and VR-trainings from Innerspace. You can see all of them in my portfolio section. The workflow is heavily based on bevels, weighted normals, and the manipulation of vertex normal to influence the shading of a surface. It does not rely on additional support loops and is completely different from the subdivision modeling approach.
I won’t go into much detail here as there are a lot of resources available online. I can recommend the tutorials about hard surface modeling from Gleb Alexandrov. He has a dedicated video about Weighted normals and how to use them in Blender. He compares the results to other approaches and explains the workflow in-depth. Check it out.
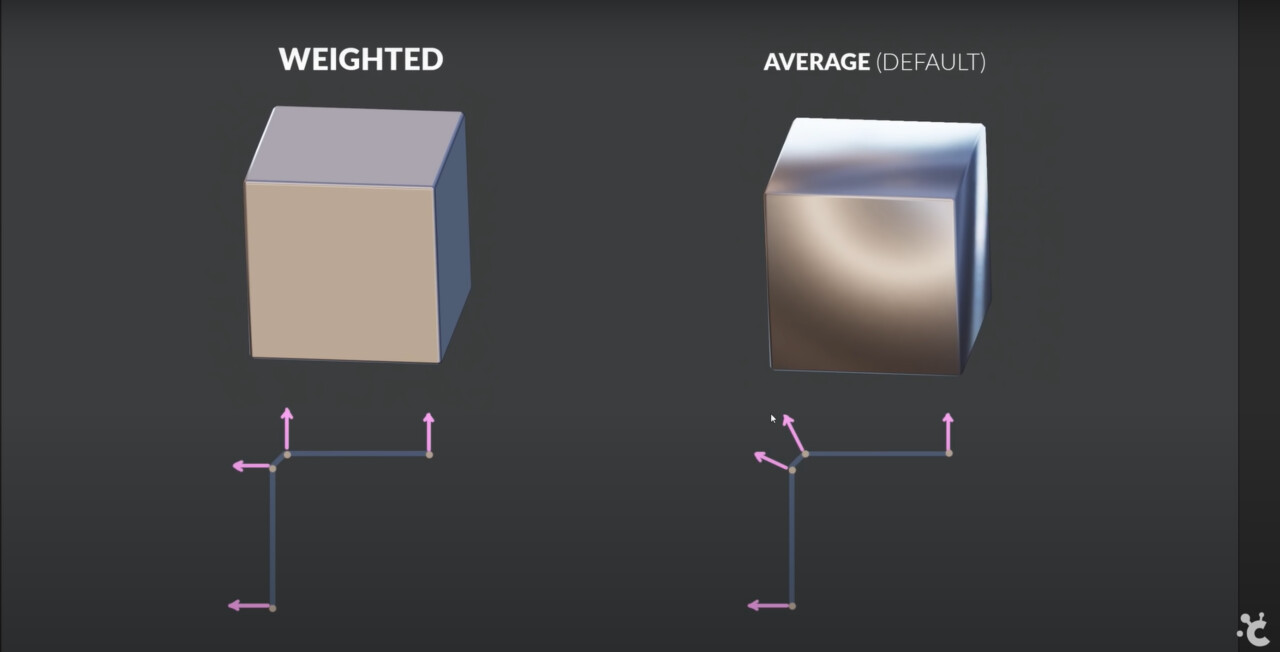
The image beneath is from this video and illustrates the concept of weighted normals. The small arrows represent the vertex normals. By manipulating their direction, you can manipulate the shading of the object.
 Source: Gleb Alexandrov (https://www.youtube.com/watch?v=sqGFhiP-2mc)
This approach is highly scalable and applicable to any asset complexity.
The Benefits:
The workflow works best for hard surface assets like machines or modular environment pieces. In these cases, it provides a lot of benefits in flexibility, reusability, iterability, and performance. In contrast to the traditional high-poly and low-poly workflow you only create 1 version of the asset, the mid-poly. I find the baking process to be really limiting. Getting rid of this step removes a hugely destructive part of the pipeline. Once an asset is baked, every change becomes a lot of effort! Even small adjustments may require adjustments in both meshes, the UVs, rebaking of the texture maps, and adjustments in the final textures. While normal maps are essential to compensate for shading issues of the low poly in the conventional workflow, mid-polys use normal maps mainly to add micro detail. Baked normal maps would require huge texture resolutions for assets like the mule and are most of the time unique to the asset. The baking process would not be easy either. You need to separate the individual parts for baking to not bake normal information onto nearby components. Investing some more geometry to avoid normal baking seems like a good idea. Some additional benefits are:
- No need for baking from another mesh
- It is easier to use trim sheets and layered materials on these assets. The normal maps are just used to add micro detail but do not define bigger shapes. Both, trim-sheets and layered materials have inherent benefits in regard to flexibility and possible variations. You can replace the trim sheet or the base materials for the material layering to create different variations of the same asset without a heavy impact on the memory. Both approaches allow for easier reuse of the textures across different assets. I will go into more detail in future blog posts.
- Mid-poly works much better for stereoscopic applications like VR. Conventional normal maps do not work properly for these applications and can just be used to add micro detail but not for bigger shapes.
Sounds great, should I always use this workflow? No. There are a lot of situations where you still want to use the conventional high-low poly workflow. A good example of that is smaller hero objects, where you want to have complete control over every single detail, assets with a lot of material variety, or objects with organic shapes.
Additional Links
- https://www.robertdoman.com/post/why-you-may-want-to-consider-mid-poly-modeling-smoothed-normals-workflow
- https://polycount.com/discussion/154664/a-short-explanation-about-custom-vertex-normals-tutorial
- http://wiki.polycount.com/wiki/Face_weighted_normals#:~:text=Face%20weighted%20normals%20(FWN)%20is,than%20across%20the%20entire%20model.
- https://polycount.com/discussion/155894/decal-technique-from-star-citizen/p1

