I want to share some modifier setups and the progress on the wires in this update with you. I already wanted to publish this blog last week but had some issues with getting the gifs to work.
Modeling
I try to keep the meshes as simple and non-destructive for as long as possible. This allows me to keep changing the shapes throughout most of the process with low effort. This way, I get a good impression of the final output while keeping the flexibility. I do not have to imagine how the mesh will look at the end, it's almost WYSIWYG. I can already preview the mesh from an early stage. Once I am happy with the result of the machine, I will apply the modifiers one by one. I will go through every single part and optimizing the shapes, topology after every applied modifier. Some examples for the modifier setups:
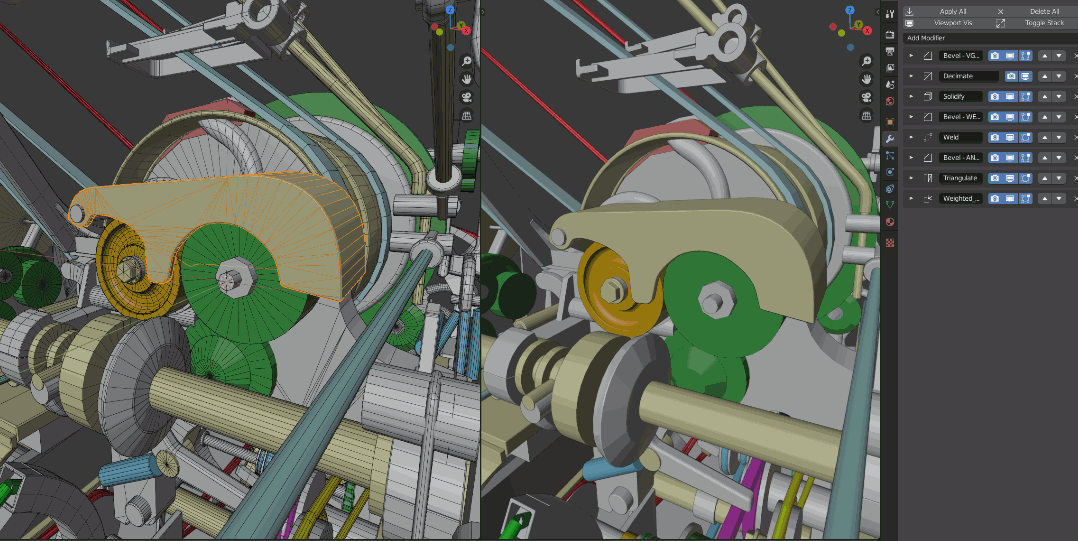
- Vertex Bevel to create the round shapes at the lower part of the object with a width percentage of 50%
- Decimate to remove the unnecessary geometry created by the vertex bevel. (set to planar with a angle limit of 2°)
- Solidify to give thickness to the geometry
- Bevel to create the rounded right corner using the bevel weight edge attribute, depending on the surrounding topology either activating or deactivating the Loop Slide attribute have a better result.
- Weld to merge the overlapping vertices introduced especially by the first bevel and its width percentage of 50%
- Bevel based on an angle of 35° to replace the sharp corners with bevels
- Triangulate with Minimum Vertices set to 5 to triangulate all n-gons.
- Weighted normal to improve the shading. This works the best if Face Influence is active and the prior bevels use the face straight mode affected and
Some more examples using similar techniques and modifier setups.
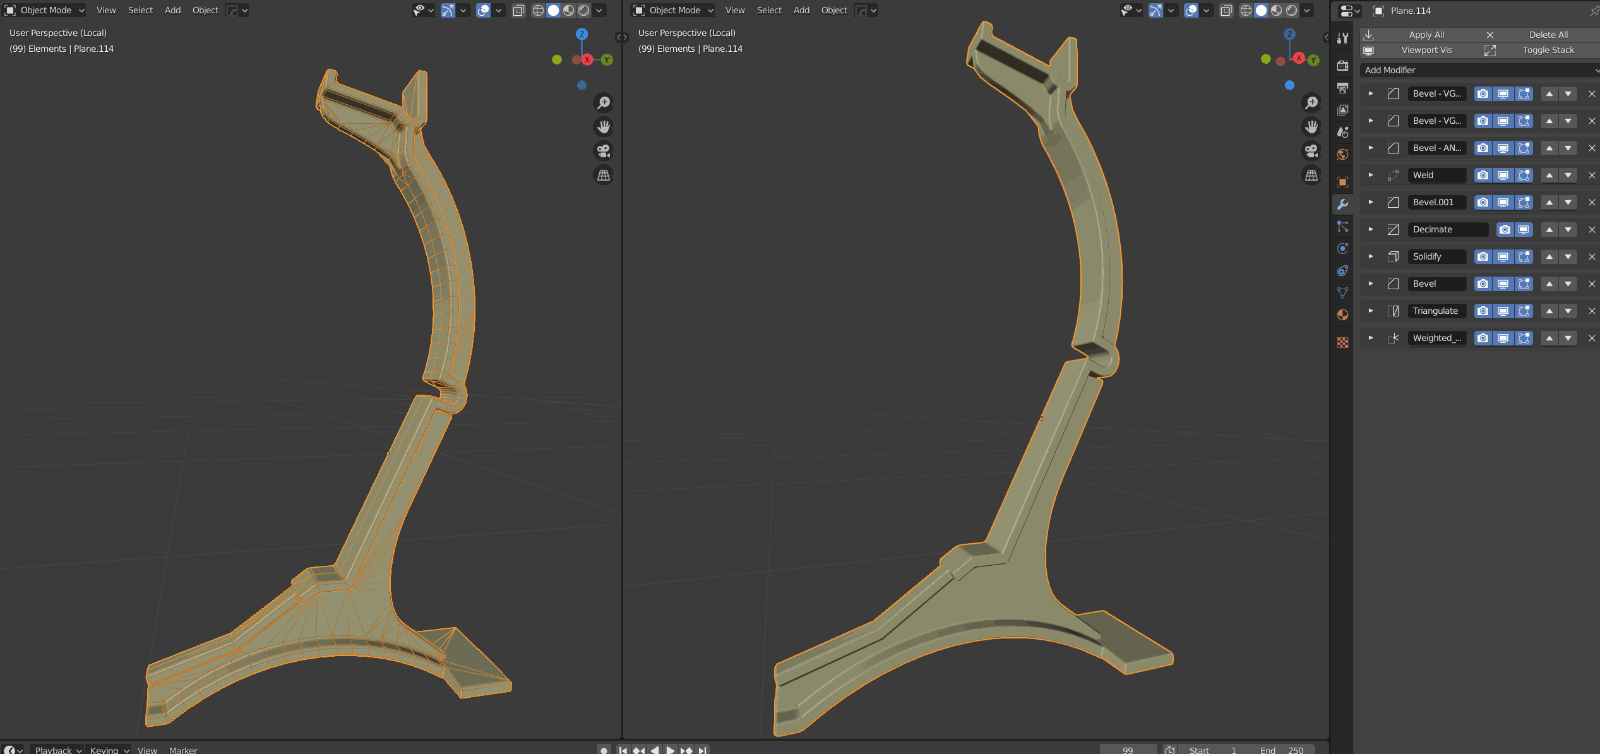
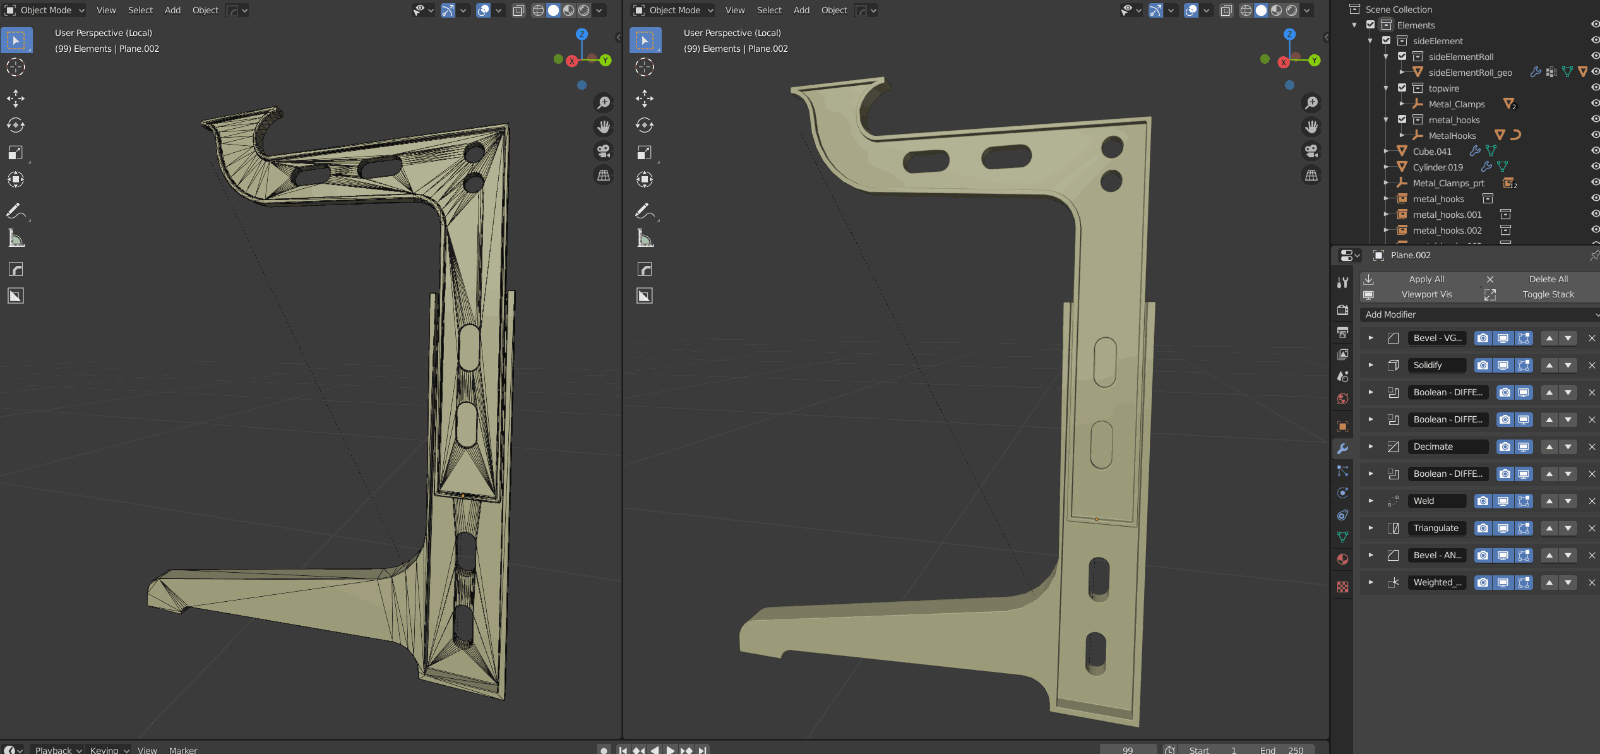
I use additional Boolean modifiers for this example. The objects used to create the negative spaces are simple planes with vertex bevel (high bevel width and Clamp Overlap), weld and solidify modifiers. This way, the amount of edges on the holes can be adjusted by the be bevel segments in the cutter objects.
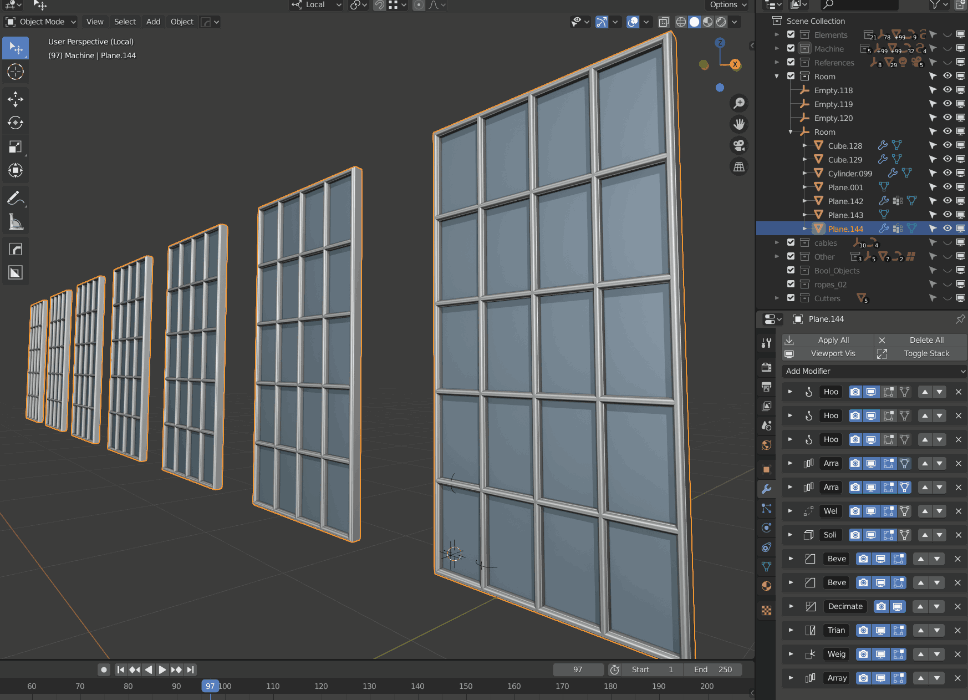
In this example I use hook modifiers to create controllers for changing the window the panel sizes and different array modifiers to repeat the base shape and later the entire window. I also use the Bevel profiles to create custom shapes of the wood edges.
Wires:
Creating the wires was the most challenging part of the machine so far. It is difficult for me to understand where the different ropes are attached to and what they drive. I tried out different approaches for creating them. Finally, I ended up using curves with hook modifiers. The hook is attached to an empty object. By moving, rotating, and scaling the hook empty I can manipulate the rope. Further, I can also parent the gears connected to the rope to the hook empty. Therefore, I can move the gears and deform the ropes automatically. The best thing about this is, rotating or scaling the hook empty will not affect the rope thickness. The bevel depth of the curve is independent from the scale and rotation of the hook empty. Just look at the last gif. It will explain it much better than this text :)
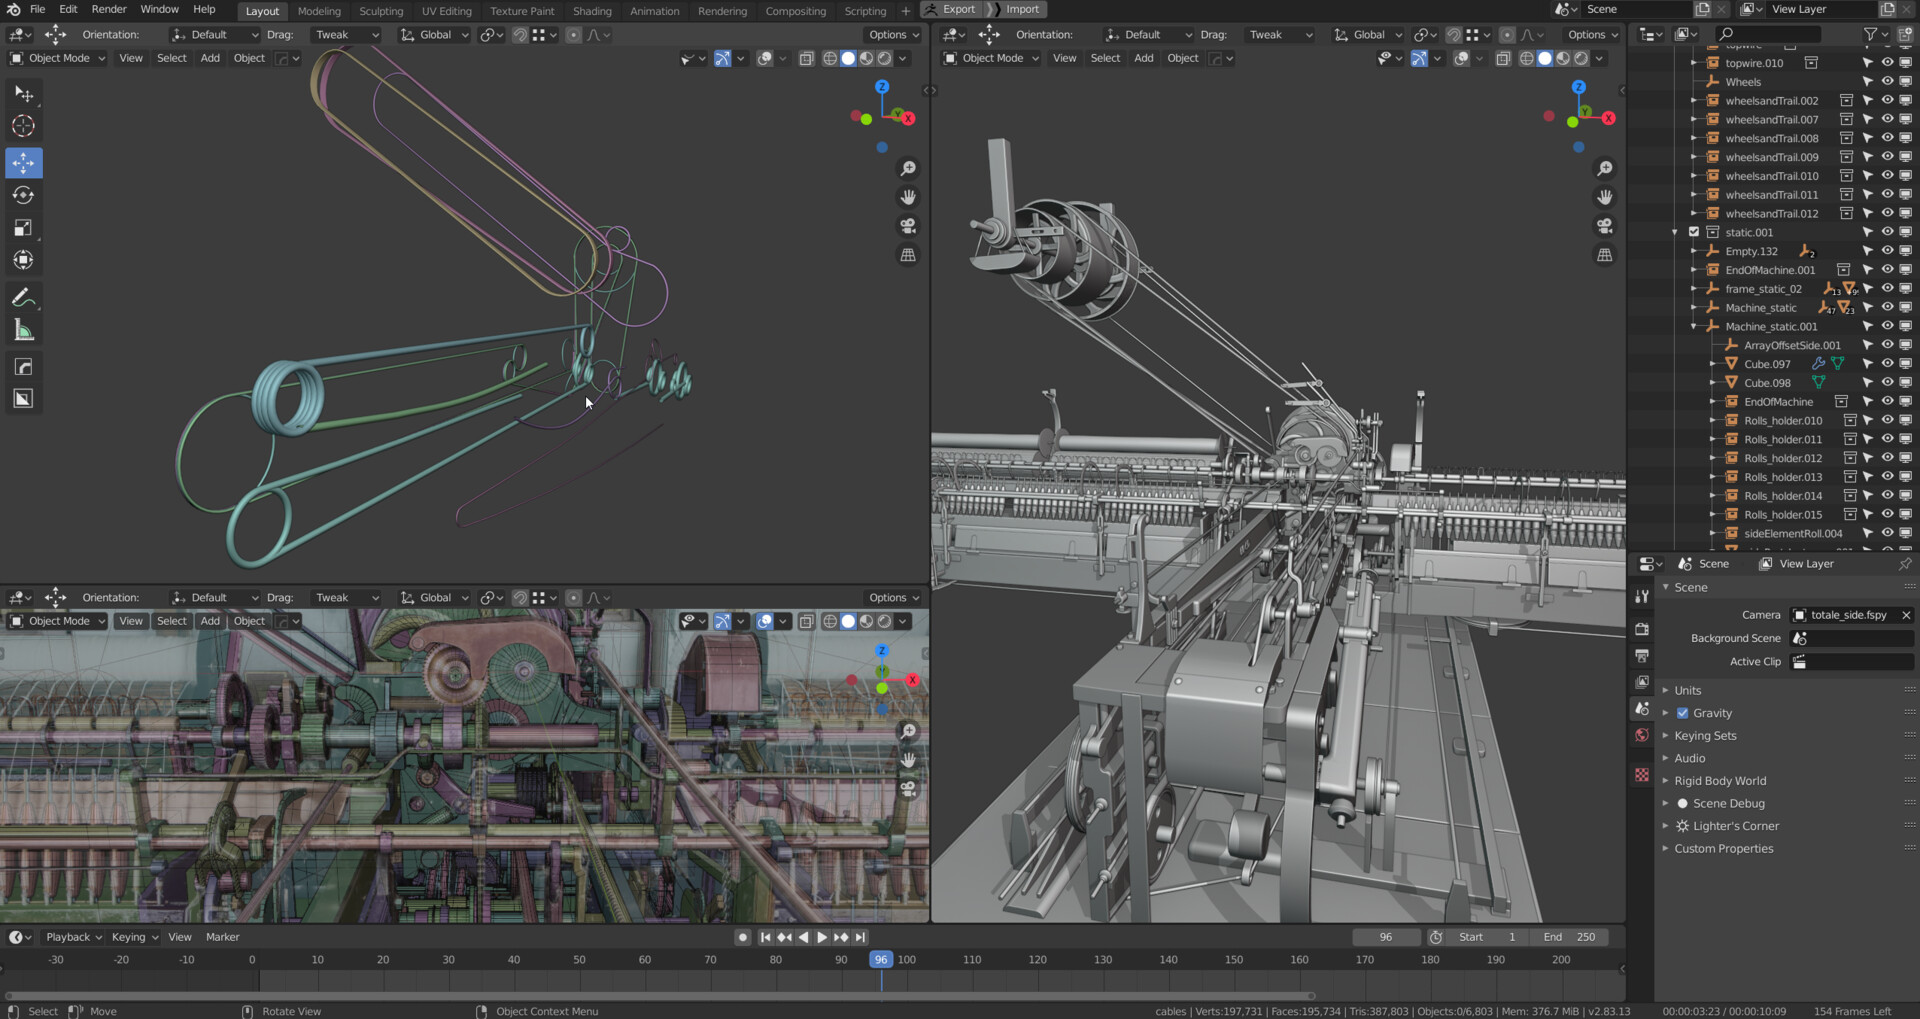
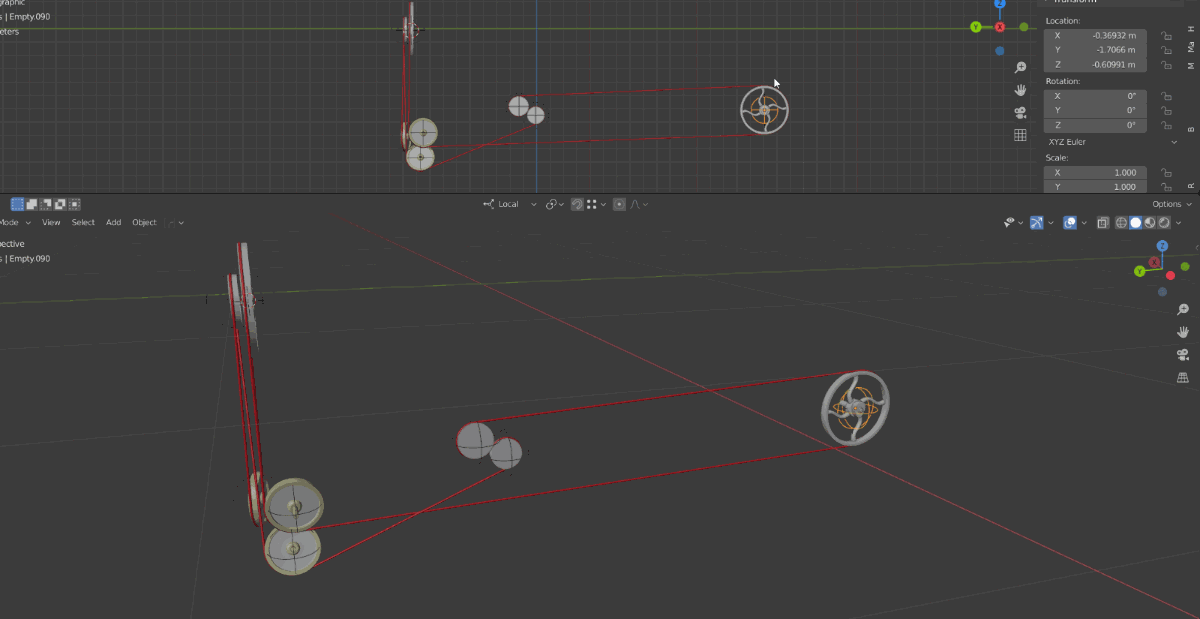
This setup will make it easy to rig the ropes as a nice side effect.